
Frequently Asked Questions
Basic questions about our service are answered in this page. If you have any questions that were not answered, please contact us.
General
How long do you store the created mosaics?
We store the created mosaics for 14 days.
Can I use my own images as tiles for creating a mosaic?
Yes, it's possible to use a custom tileset. You can read more about its method below.
Can you help me as to where/how I could print out the finished mosaic?
On our "links" subpage we can provide an appearance for companies that undertake photo development, from who you can order the printing of your finished mosaic.
At what size can you make a good quality print of a mosaic?
It depends on the mosaic's resolution. Generally speaking, the quality is impeccable of a printed mosaic with a resolution over 150dpi. Therefore a high resolution, 8000x8000 pixel sized mosaic looks good even on a 130x130cm sized poster.
Can you create a mosaic in a much bigger size than allowed on the website?
Offline, we can create a mosaic of almost any size, but the process requires a high amount of calculation and memory that isn't economically executed online. If you'd like a very big mosaic, then write to our support@go4mosaic.com address and we'll find a solution.
Mosaic creation
What means what on the "Create Mosaic" page?
There is a small [?] sign beside each setting option and if you move your mouse cursor over it, you can get a detailed description of the settings. It's worth checking out the "Examples" page as well, where you can see the settings used for the creation of each image beside them.
How long does it take to process a mosaic?
Depending on the resolution and the tileset, it takes 1 to 20 seconds to process a mosaic. This demonstrates that the processing of a mosaic requires a lot of resources, so we need to queue the incoming requests.
What does the "Adaptive Merging"?
In the case of the "Adaptive Merging" (AM) setting, we don't simply copy the photo over the finished mosaic ("Merging"), but we use a mask fitted to the tiles. With this, the original photo's effect is stronger on the edges of the tiles, and weaker in the center of the tiles. By default, the AM function is turned off and can be used in three levels of intensity. In case of "Overlapped" tilesets, the AM cannot be used.

What does the ATS option change?
When using a tileset that does not cover the full range of colors, the traditional algorythms often result in a mosaic of inadequate quality. The Adaptive Tile Selection (ATS) technology provides a solution for this problem, it's possible to create a quality mosaic with its help even when the tiles are very similar in color. For example, our tileset 'Matrix Letters' does not cover the full range of colors.

Custom tilesets
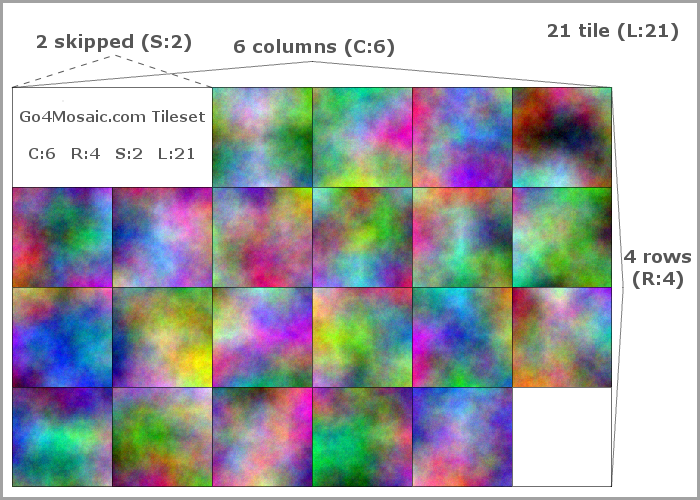
When picking a "Custom Tileset", what do the C, R, S and L letters mean? What do I have to enter?
C: Columns, this is the number of tile-columns in the picture.
R: Rows, this is the number of tile-rows in the picture.
S: Skipped tiles, the first X number of tiles aren't used when creating a mosaic, this is where the creator's logo or the tileset's data goes. (0 = no skip)
L: Limit, this is the maximum number of tiles used for the mosaic. This is only relevant if there aren't enough tiles to completely fill the tileset picture. (0 = no limit)
The figure below makes it easier to understand what each setting means.
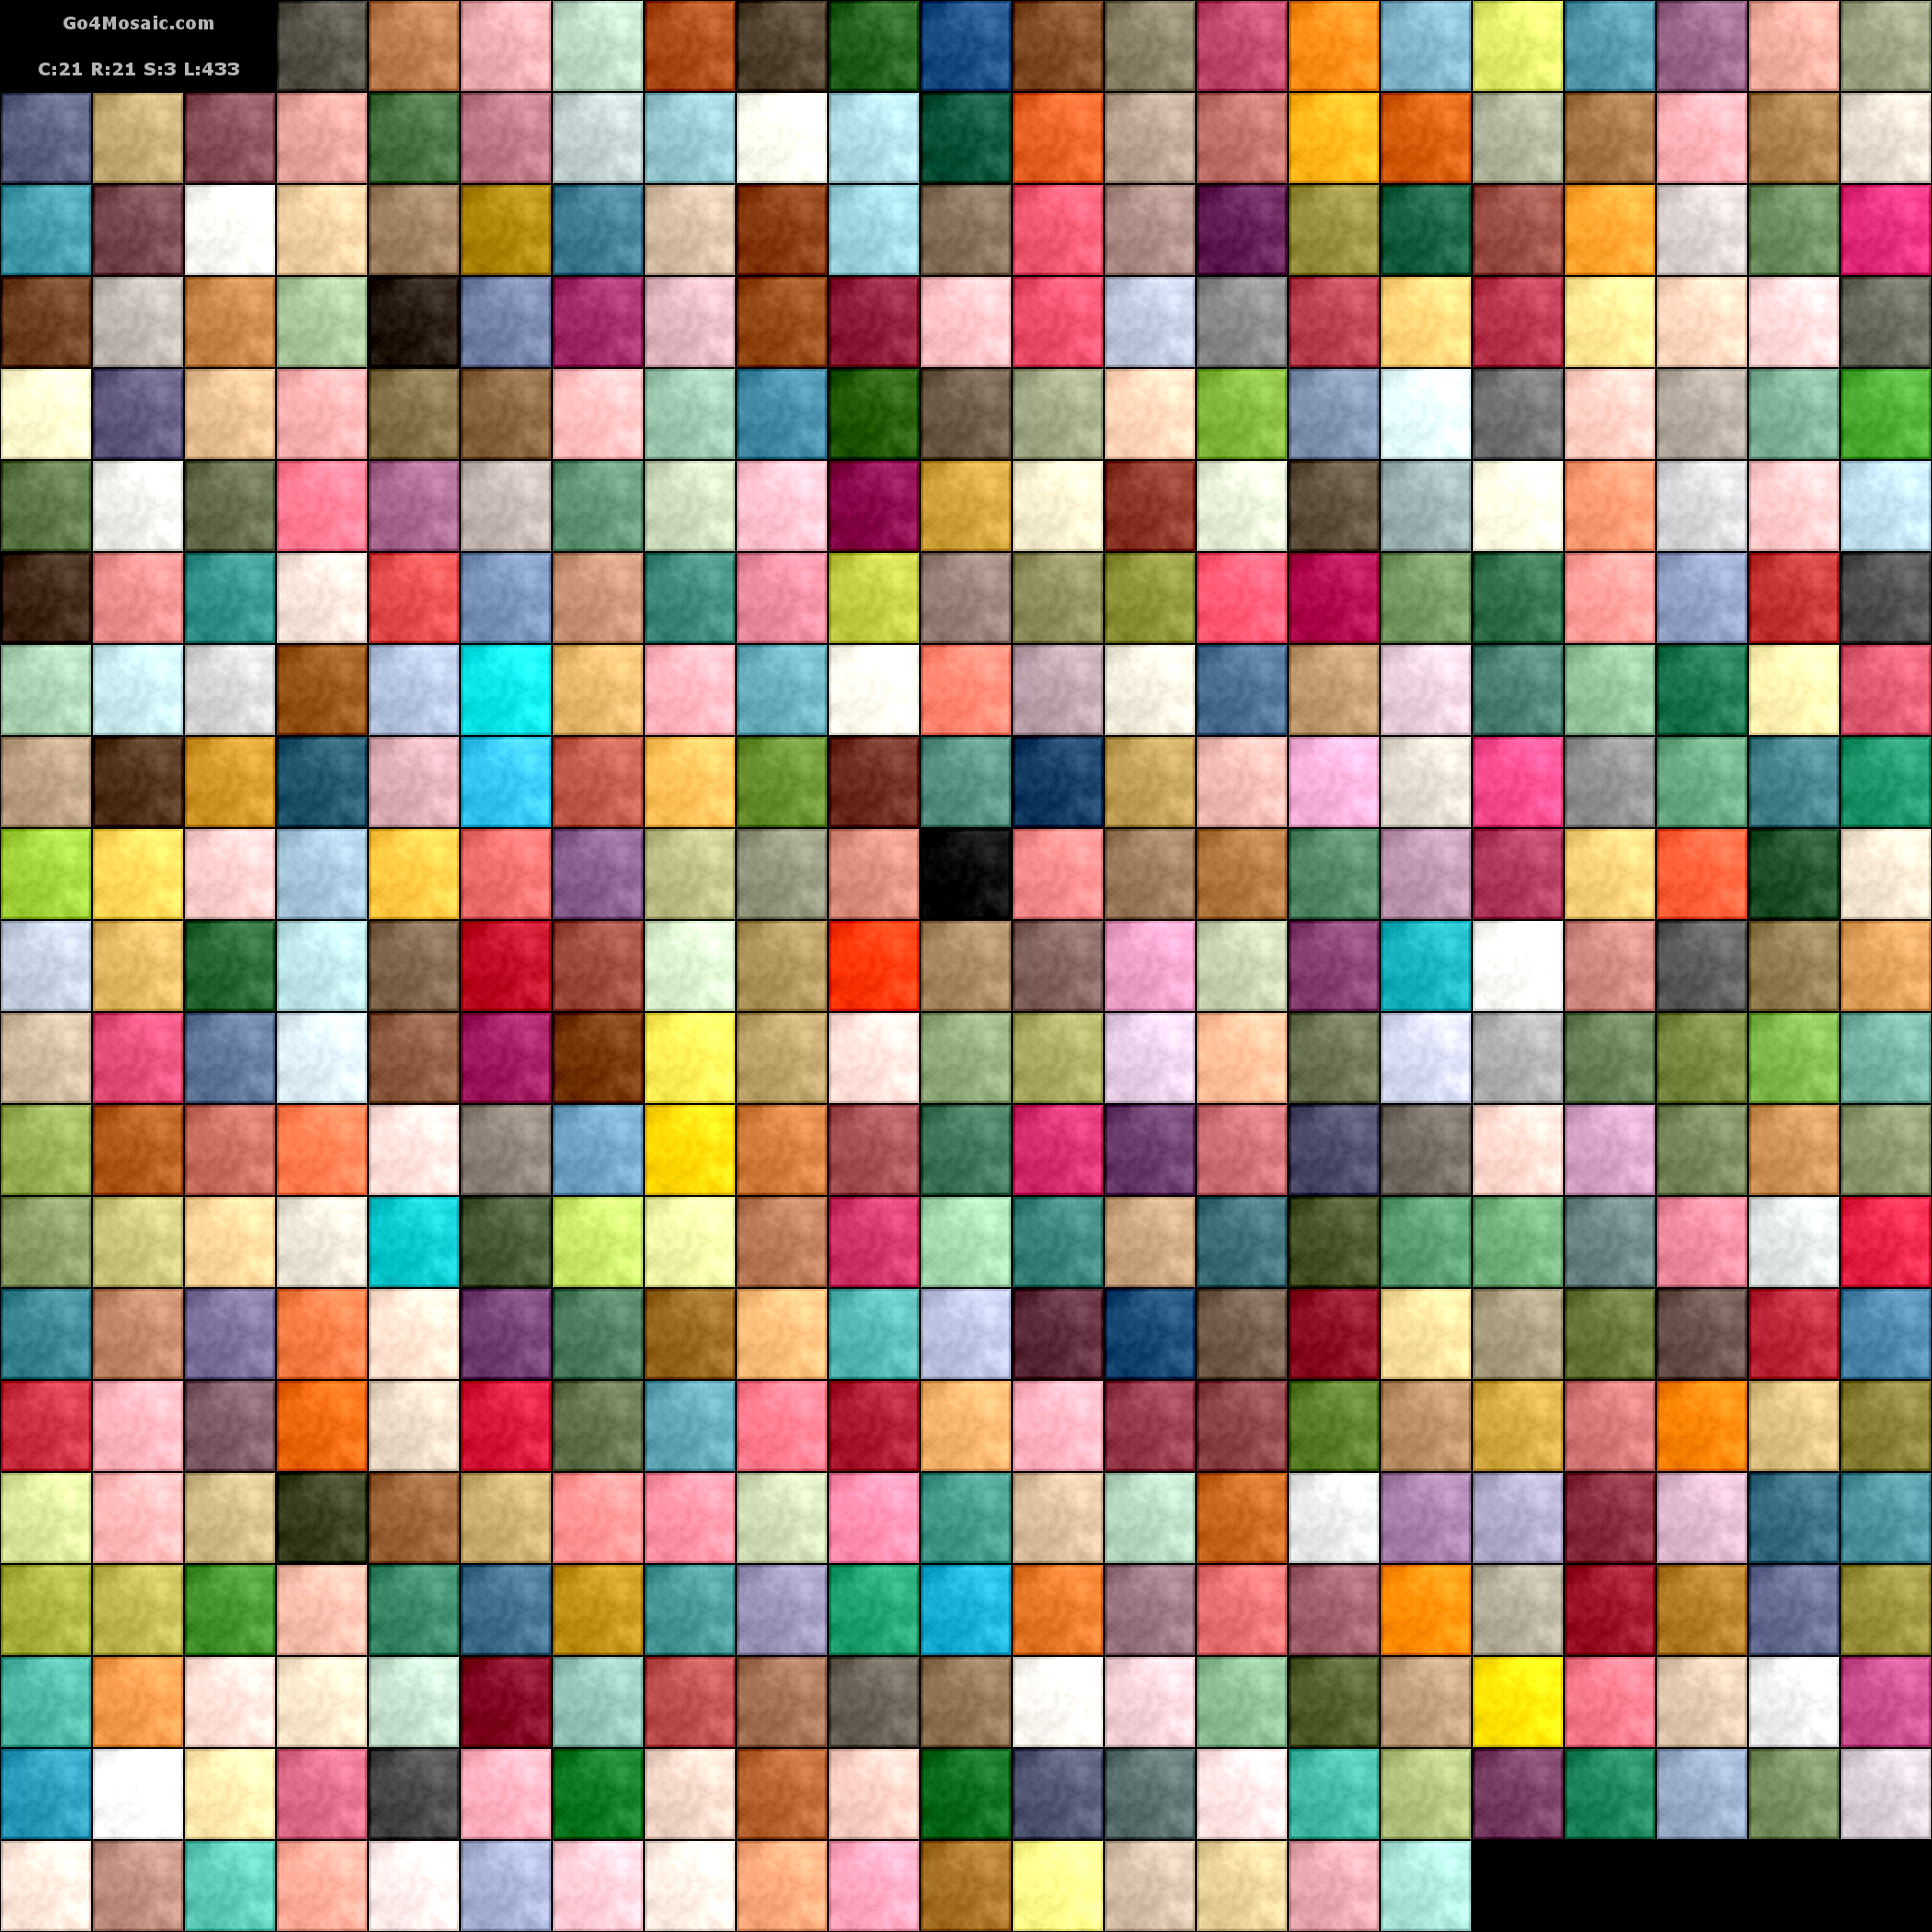
What are the requirements for a custom tileset picture?
The maximum size of a tileset picture can be 4000x4000px, the file's size cannot be larger than 16 Mbytes. One tile has to be at least 20x20px in size, but it cannot be larger than 200x200px. One picture can include a maximum of 2000 tiles.
What program can I use for the simplest way to create a tileset from my photos?
Included within the ImageMagick pack, 'montage' is a free and simple tool for creating the tileset.
Possible steps:
- Download and install the ImageMagick software. www.imagemagick.org
- Pick out a few 100 pictures that all have the same aspect ratio. Copy the photos you intend to use into a separate folder. For example, use "C:\Users\Public\Pictures\Tiles" as the destination folder.
- Define the height and width of the planned tiles, both values have to be between 20px and 200px. For example, if your photos are 4000x3000px in size, and you want 100px wide tiles, then this is how you can calculate in order to retain the aspect ratio.
width = 100
height = 100 * 3000 / 4000 = 75
The size of your tiles will be 100x75px. - Open a new Command Prompt window. (Start Menu => Accessories => Command Prompt)
- Go into the folder created in step 2.cd \Users\Public\Pictures\Tiles
- Run the following command to process all the JPEG pictures in the folder.montage.exe *.jpg -resize 100x75 -mode Concatenate -tile 40x ..\mytileset.png
- After running the above command, your tileset will be in the "C:\Users\Public\Pictures" folder under the mytileset.png name.
- You have to determine 4 values that you have to enter when using a "Custom Tileset".
C: Count the number of columns in the mytileset.png picture. Staying with the example above, if you had at least 40 pictures, then the value of C will be 40 here.
R: Count the number of rows in the mytileset.png picture. If you had 180 pictures when you ran the command above, then your pictures will be in 5 rows, so the value of R is 5.
S: If you created your tileset with the method above, then there will be no tiles that would need to be skipped at the start of your tileset. As such, the value of S is 0.
L: Input here how many pictures you used for your tileset, so you can avoid the usage of the white tiles at the end of your tileset picture when creating your mosaic. If you had 180 pictures, then the value of L has to be 180.
Staying with the above example (calculating with 180 pictures):
C:40 R:5 S:0 L:180
If you've created a tileset that you'd like to share with others, then upload your tileset onto an image-sharing site.
Downloadable samples:

Where can I find tilesets created by others?
A lot of tilesets can be found on various filesharing sites, Facebook groups.
Can I make a tileset from my favourite family video?
Yes, it's possible to create a tileset from a video. The first step is extracting still pictures from the video, then you can create a tileset using the method described above for photos. We suggest using the free Mplayer software. www.mplayerhq.hu
For example, with the following command, you extract a 100x75px size PNG picture to the folder from every 20th second of the first hour of an AVI file.
Advertisement possibilities
Is it possible to place my advertisement on the site?
Primarily, we can provide advertisement space for products and services that are related to photo development or to the theme of our site.